Ever been on pins and needles while trying to trim your dog’s black nails, afraid you might hurt your fur-baby? Well, you’re not alone. Being a devoted dog mom myself, I’ve gone through this nerve-wracking situation countless times.
In this delightful guide, I’ll share concrete, step-by-step advice on how to cut dog nails that are black — safely and effectively. We’ll dig into everything from understanding your dog’s nail anatomy, to choosing the most reliable tools for the task, to expert grooming techniques.
Let’s take back control of this process, exchanging the uncertainty for confidence. We’ll discover how to make nail trimming a joyful and stress-free routine for our beloved dogs, keeping those paws healthy without a hint of worry. Let’s dive in!
Understanding the Unique Structure of Black Dog Nails
The Anatomy of Your Dog’s Nail and Quick
The structure of a dog’s nail plays a crucial role in maintaining their overall paw health. Each nail is composed of a tough, protective outer sheath and a softer white horn interior, providing both durability and flexibility. To gain a deeper understanding of dog toenail anatomy, which is critical for successfully cutting your dog’s nails, learn more about this topic from integrative veterinarian Dr. Julie Buzby. This design allows our furry friends to engage in various activities without damaging their nails.
Inside each nail, there’s a blood vessel and nerve known as the “quick.” This area is vital for the nail’s nourishment and sensation, but identifying it can be tricky, especially in black nails. Unlike clear or lighter-colored nails where the quick is visible, the quick in black nails is often hidden, making nail trimming more delicate.
Important Differences When Cutting Black Nails
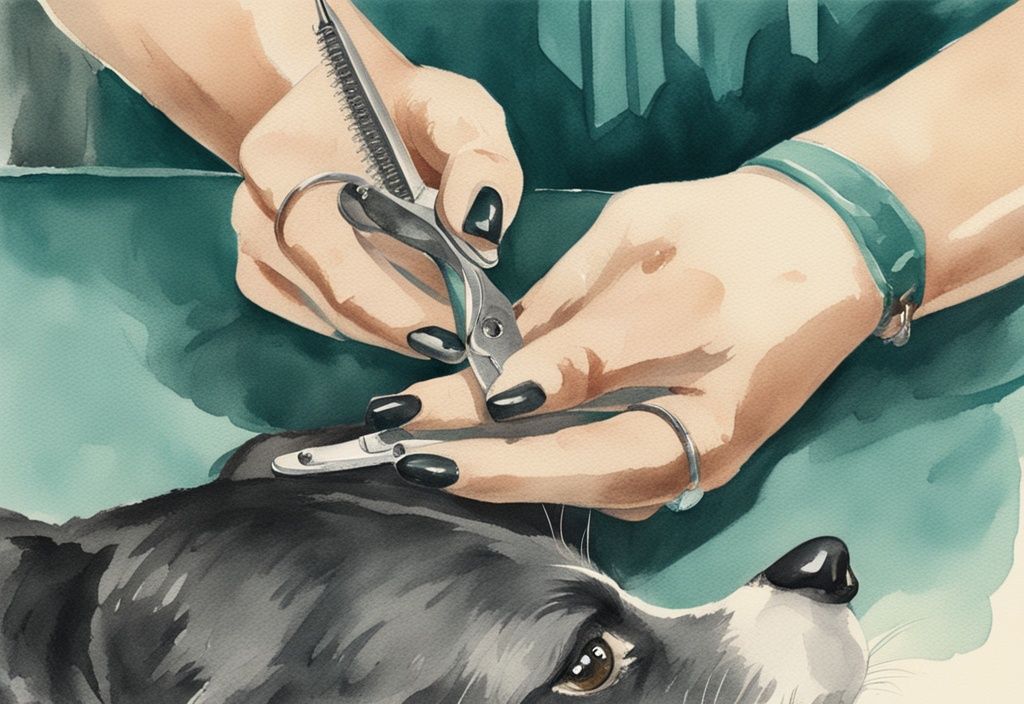
Learning how to cut dog nails that are black demands more caution and patience compared to trimming clear nails. The main challenge is the invisibility of the quick, which raises the risk of accidental cuts and bleeding.
To safely trim black dog nails, start by cutting small sections at a time. Gradually progress and keep a close eye out for the emergence of white horn material. This serves as an indicator that you’re nearing the quick. One effective technique is to look for a small black dot in the center of the white horn material; this signifies that you should stop cutting to avoid injuring the quick.
Using these careful and methodical practices ensures a safe and effective nail trimming process, reducing discomfort and stress for your dog while maintaining proper nail health.
Tools and Preparation for a Smooth Nail Trimming Session
Learning how to cut dog nails that are black can be quite the tricky task. Having the right tools and proper preparation is essential for a stress-free experience for both you and your furry friend. This section explores everything you need to know to make those trimming sessions smoother and safer.
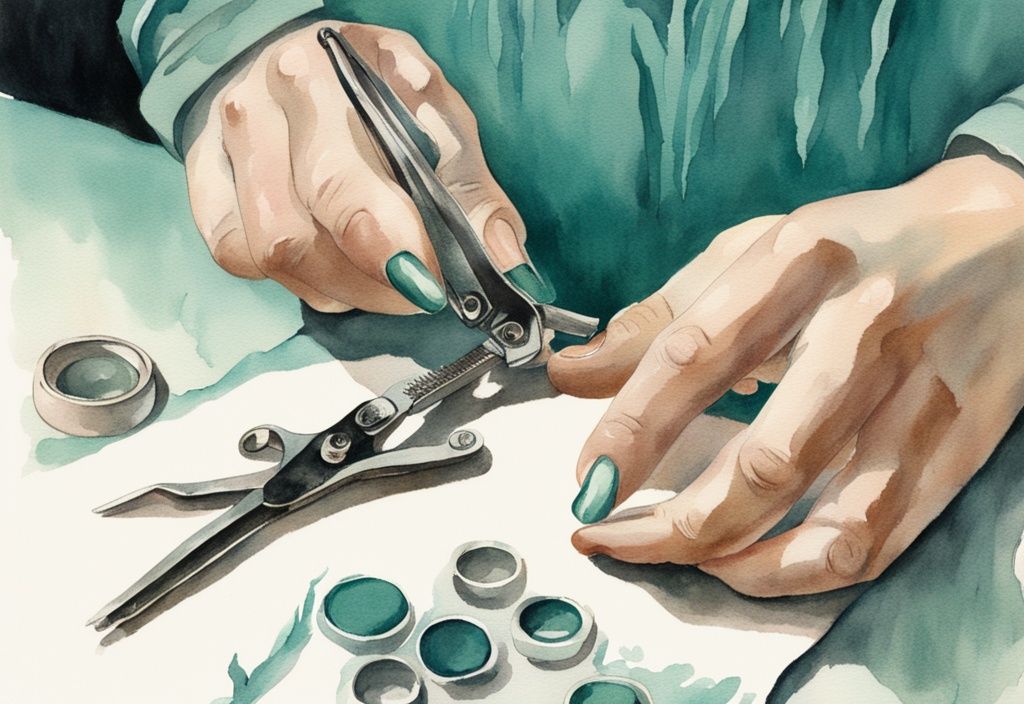
Choosing the Right Nail Clipper for Black Dog Nails
Selecting the appropriate nail trimmer is crucial when learning how to cut dog nails that are black. Opt for a dog-specific nail trimmer, preferably the ‘scissor’ style, as it offers better visibility and control.
The scissor style is particularly beneficial because it allows you to make precise cuts, reducing the risk of injury to the quick—a common concern with black nails. Ensure the clippers are sharp and well-maintained to facilitate clean cuts. Clean cuts are essential for minimizing stress for both you and your dog. A quality trimmer makes all the difference in ensuring a neat, efficient trim.
Necessary Supplies for Dog Nail Trimming
To successfully trim your dog’s nails, gather all the necessary supplies beforehand:
- Nail clipper designed for dogs: The right tool ensures neat and efficient cuts.
- Styptic powder or corn starch: Essential for stopping bleeding quickly if you accidentally nick the quick.
- Treats: These serve as positive reinforcement, making the experience more pleasant for your dog.
- Optional: Nail grinder: Useful for smoothing rough edges post-trim, though it may take time for your dog to get accustomed to the noise.
Having these supplies ready promotes a smoother nail trimming session, especially when dealing with the obscured quick in black nails. A well-prepared setup makes the whole process less daunting for both of you.
Tips for Reducing Dog’s Fear of Nail Trimming
Minimizing your dog’s anxiety is a key step in learning how to cut dog nails that are black. Start by desensitizing your pet to having their paws touched and the presence of the nail trimmer. Gradual exposure can significantly reduce fear.
Incorporate positive reinforcement by rewarding calm behavior with treats and praise. This helps build a positive association with the nail trimming process. If your dog is particularly stressed, consider trimming just a few nails at a time. Breaking the task into smaller, manageable steps can make a significant difference.
Additionally, having another person to help hold and comfort your dog during the trimming can provide extra reassurance and stability for both you and your pet. By following these strategies, you can create a more relaxed and efficient environment for nail trimming, ensuring a positive experience while handling the tricky task of trimming black dog nails.
Step-by-Step Instruction on Cutting Black Dog Nails Properly
Before diving into the details of proper nail cutting, it’s essential to focus on a few preliminary steps that set the stage for a stress-free experience for both you and your beloved pet.
How to Calm Your Dog Before Nail Trimming
Creating a calm and stress-free environment for your dog is the first step in learning how to cut dog nails that are black. Begin by gently petting your dog and speaking in soothing tones. Treats work wonders in reinforcing calm behavior, helping your dog associate nail trimming with positive experiences. Allow your canine companion to sniff and see the trimming tools beforehand to alleviate any anxiety. A few minutes of this gentle preparation can significantly reduce stress levels.
Tips for Locating the Quick in Black Nails
Finding the quick in black nails is tricky but manageable. When you embark on the journey of how to cut dog nails that are black, trim small amounts at a time. Look for the white horn material as you cut; this is a clear sign you’re nearing the quick. The small black dot within the white horn indicates it’s time to stop trimming. This approach ensures you avoid causing discomfort or bleeding.
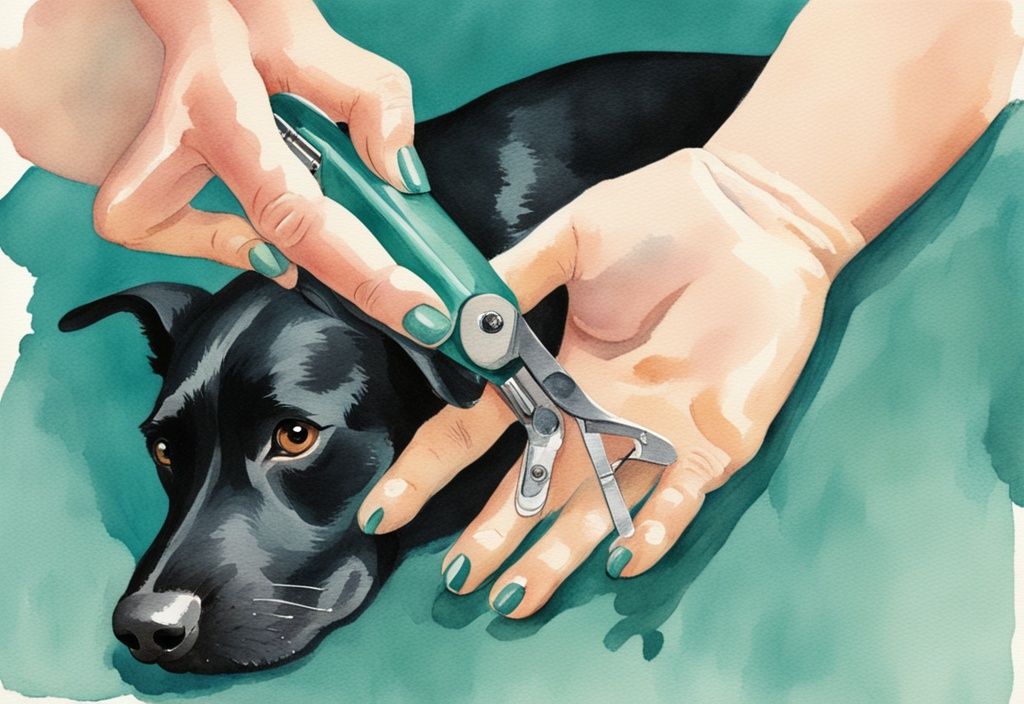
The Process of Making the Cut
Good technique is the backbone of how to cut dog nails that are black. Hold your dog’s paw gently yet securely to prevent any sudden movements. Angle the nail trimmers at 45 degrees for better control and less risk of splintering. For dogs with short nails, a 90-degree angle might be more suitable. Double-check your positioning before making the cut to ensure accuracy and safety.
Ensure Safety with Gentle and Accurate Cuts
Safety should always be your top priority when learning how to cut dog nails that are black. Clean, assertive cuts are crucial to avoid jagged edges or crumbled nails, which can make your dog uncomfortable. Utilizing a sharp, well-maintained nail clipper will help achieve clean cuts. The more consistent you are with your technique, the more confident and accurate you’ll become, making the experience much less stressful for both you and your furry friend.
How to Handle Nail Bleeding if it Happens
Even seasoned pros can have minor mishaps when cutting black dog nails. If you accidentally cut the quick, don’t panic. Use styptic powder or corn starch to stop the bleeding immediately. Offering a treat to your dog can help maintain a positive atmosphere, reinforcing good behavior even during minor accidents. This ensures a calm environment for future nail trimming sessions.
Essential Tips for a Successful Black Nail Trimming Experience
Trimming black dog nails can be a daunting task. The following tips will help you navigate this process with confidence and love.
How to Use Positive Reinforcement
Understanding how to cut dog nails that are black begins with creating a positive and stress-free experience for your furry friend. Use treats and plenty of praise to reward your dog for staying calm during and after the trimming session. This can help associate the nail trimming process with positive outcomes, making it easier over time.
Maintaining a relaxed and upbeat demeanor is crucial. Dogs are highly perceptive and can pick up on your emotions. If you remain calm and positive, your dog is more likely to feel safe and be cooperative. Give them ample reassurance through gentle petting and encouraging words, reinforcing that this is a situation where they are protected and loved.
Why Gradual Nail Trimming Works
When learning how to cut dog nails that are black, it’s essential to trim just a few nails at a time, particularly if your dog is anxious. This gradual approach helps in preventing your dog from becoming overwhelmed. Initially, you might tackle only one or two nails before moving on to more in subsequent sessions. This pacing can build your dog’s tolerance and acceptance of the process.
Regular trimming is not only about maintenance but also a strategy to help the quick (the blood vessel inside the nail) recede. With consistent, minor trims, the quick will gradually shrink back, making future trims less risky and more manageable. This consistency brings a dual benefit: shorter nails and reduced stress for both you and your dog.
Common Mistakes and How to Avoid Them
Cutting black dog nails can be a daunting task because the quick—the sensitive part of the nail that can cause bleeding if cut—is hidden. Missteps can lead to pain and discomfort for both you and your dog. Let’s dive into the most common mistakes and how you can avoid them.
The Risk of Cutting Too Much Too Quick
Knowing how to cut dog nails that are black involves taking extra care due to the invisible quick. Unlike clear nails, you can’t see where the quick ends, so the risk of cutting too deeply is higher.
One frequent misstep is cutting too much too quickly. Always start by trimming small portions of the nail. This gradual method minimizes the chances of hitting the quick, which can cause bleeding and pain.
Use visual cues to guide you. As you trim, watch for white horn material appearing. This is a sign that you’re nearing the quick. Stop immediately if you see a small black dot in the center of this white area, as it means you’re very close to the quick.
Patience and a steady hand are crucial. Make each cut deliberate and measured to ensure your dog’s safety and comfort.
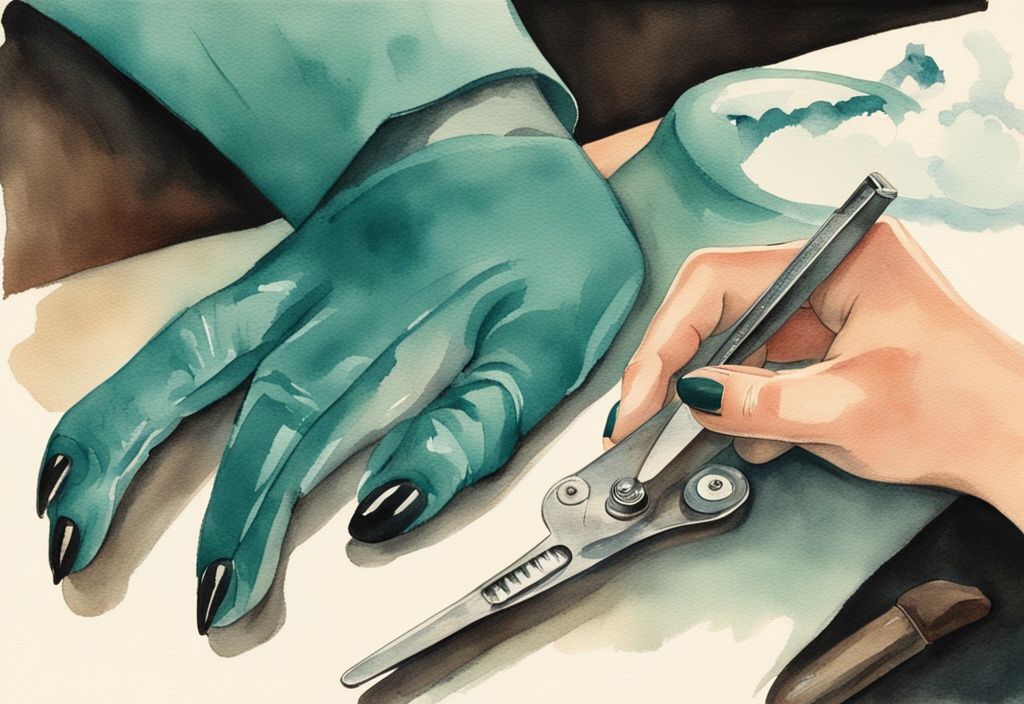
Avoiding Incorrect Tools for the Job
Using the right tools is essential for learning how to cut dog nails that are black. Improper or dull clippers can create uneven cuts and make the experience uncomfortable for your furry friend.
Choose a sharp, well-maintained clipper designed specifically for dogs. Scissor-style clippers provide better visibility and control, making them a great choice for trimming black dog nails.
Get comfortable with your chosen tool before the actual trimming session. Practice holding and maneuvering the clipper to build your confidence. This prep work helps reduce stress for both you and your dog during the trimming process.
Regular maintenance of your clippers, like sharpening and cleaning, enhances their efficiency and longevity, ensuring a smoother and safer nail-cutting experience.
Maintaining Your Dog’s Nails in a Healthy State
Regular nail care is essential for your dog’s overall health and comfort. Through routine trimming and understanding different methods, you can ensure your pup remains happy and pain-free.
How Often Should You Trim Your Dog’s Black Nails?
Trim your dog’s black nails as often as you hear them click on hard floors, typically every 1-2 weeks. Regular trimming prevents nail overgrowth, which can cause discomfort, torn nails, and even joint and foot issues over time. Keeping a consistent grooming schedule not only maintains your dog’s nails in good shape but also helps the quick—the sensitive part of the nail housing blood vessels and nerves—recede gradually. This makes future trimming sessions easier and safer, promoting a positive grooming experience. If you’re curious about different breeds, you might wonder what kind of dog Lady from Lady and the Tramp is.
Understanding the Pros and Cons of Nail Grinding As An Alternative
Using a nail grinder is a popular alternative to traditional nail clippers, especially when learning how to cut dog nails that are black. One of the best perks of using a nail grinder is it provides a smoother finish, reducing the chance of sharp edges that can snag or tear. Also, nail grinding is less likely to accidentally cut into the quick, minimizing the risk of bleeding and pain for your dog.
However, there are some drawbacks. Nail grinders tend to be noisier than clippers, which can startle or scare some dogs, especially those already anxious about nail trimming. The grinding process can also be more time-consuming, requiring patience from both you and your dog. Introduce the grinder gradually, allowing your dog to get used to the sound and sensation over multiple sessions.
By using these methods, along with proper care and patience, you’ll help maintain your dog’s nails in a healthy state, ensuring their comfort and well-being.
When to Consult a Professional Groomer
For many dog owners, especially those dealing with the tricky task of cutting black nails, recognizing when to reach out for professional help can make all the difference. Here, we’ll delve into signs that indicate it’s time for a groomer and tips for choosing the right professional.
Signs You Should Seek Professional Help
Recognizing when it’s time to seek professional help for cutting black dog nails can save both you and your pup a lot of stress. If your dog shows signs of excessive anxiety or aggression during nail trimming, it might be best to call in an expert. My own dog, Max, used to tremble and growl, making the task nearly impossible without risking injury to both of us.
Behavioral issues can turn nail trimming into a dangerous endeavor, increasing the chances of accidental cuts to the quick or other injuries. Also, if you find yourself consistently unable to avoid the quick, leading to frequent bleeding, professional intervention is advisable.
Persistent struggles with how to cut dog nails that are black might mean this task is best left to a skilled groomer. They can handle these situations more effectively and safely, ensuring your dog’s nails are trimmed without the associated stress.
Choosing a Reliable Professional Groomer
Picking the right professional groomer is crucial for ensuring a stress-free experience for your dog. Start by looking for groomers with strong reviews and personal recommendations from other pet owners. Client testimonials can offer valuable insights into a groomer’s expertise and level of customer care.
Ensure the groomer has specific experience with anxious or difficult dogs. Handling such pets requires a special set of skills. My close friend Becca found a magical groomer who worked wonders on her anxious Chihuahua, Bella, simply because the groomer was patient and calm.
It’s especially important to check if the groomer is well-versed in how to cut dog nails that are black, considering the unique challenges they pose. A groomer with a calm demeanor and patient approach can significantly improve your dog’s nail trimming experience, making it less stressful and more efficient.
By choosing a reliable professional groomer, you ensure your dog’s nails are maintained properly without unnecessary stress, keeping them healthy and comfortable. Your furry friend deserves the best care, and sometimes, that means seeking the expert touch.
Frequent Questions on Cutting Black Dog Nails
When it comes to trimming your dog’s black nails, there’s often a mix of curiosity and concern. In this section, we’ll dive into some common questions and provide reassuring answers to make the process smoother for both you and your furry friend.
What If My Dog Bleeds During Nail Trimming?
If your dog’s nail starts to bleed, stay calm. Quickly grab some styptic powder or corn starch and apply it directly to the bleeding nail. This should staunch the bleeding fairly fast. Once everything’s under control, go ahead and reward your brave pup with a treat. They’ll start to associate nail trimming with positive experiences, making future sessions much easier.
How to Tell If I’m Cutting Too Close to the Quick?
Cutting too close to the quick can be nerve-wracking, especially with black nails. Here’s a simple way to judge: after each trim, inspect the cut surface closely. You’ll see a white horn-like material. If you spot a tiny black dot in the center of the white area, that’s your cue to stop—you’re almost at the quick. It’s like playing detective, but for your dog’s nails!
What are the Signs That My Dog’s Nails are Too Long?
Wondering if your dog’s nails are overdue for a trim? Look out for these telltale signs: if you hear clicking sounds on your floors, notice your dog having trouble walking, or see any torn nails or issues with their feet and joints, it’s time to get those clippers out. Keeping their nails at an appropriate length is crucial for their overall well-being and happiness. Regular maintenance truly makes a difference in their comfort and health.